
Getting cannabis seeds to germinate reliably often starts long before the seeds ever hit the soil. Proper soil preparation creates an optimal environment for delicate seedlings to emerge, establish roots, and transition into vigorous vegetative growth. By understanding soil structure, nutrient balance, moisture retention, and sanitation techniques, you’ll lay the foundation for uniform sprouting and healthy plants. Here’s how to prepare your soil before planting to maximize cannabis germination rates.
Understanding Soil Structure and Texture
Soil texture refers to the relative proportions of sand, silt, and clay particles. Ideal seed-starting mixes strike a balance: coarse enough for good drainage and air flow, yet fine enough to retain moisture around tiny emerging roots.
Loamy soil—roughly 40% sand, 40% silt, 20% clay—offers this balance. Sand permits oxygen and prevents waterlogging; silt and clay hold nutrients and water. When starting cannabis seeds:
- Avoid heavy clay soils, which compact easily and suffocate seedlings.
- Steer clear of straight peat or coir, which retain water but lack aeration.
- Choose or create a loam-based mix, adding perlite or coarse sand to improve drainage.
Testing and Amending Your Existing Soil
If you plan to reuse garden soil or a potting mix, conduct a simple jar test:
- Scoop a soil sample into a clear jar, fill halfway with water, shake vigorously, and let it settle for 10–15 minutes.
- Observe the layers: sand settles first, silt next, and clay last.
- Measure each layer’s depth to calculate percentages.
If your soil is too sandy (above 60% sand), add compost or coco coir to boost water retention. If it’s heavy in clay (above 40% clay), incorporate perlite, horticultural sand, or rice hulls to lighten the mix.
Optimizing Nutrient Levels
Cannabis seedlings require minimal fertilization until they develop true leaves. Overly rich soil can overwhelm young roots, causing nutrient burn or stunted growth. Aim for a balanced, gentle nutrient profile.
Building a Mild Base Mix
A simple seed-starting blend might include:
- 50% loamy topsoil (or sifted garden soil)
- 30% high-quality compost for organic matter and beneficial microbes
- 20% perlite or pumice for aeration and drainage
This mix provides trace nutrients and structure without overloading seedlings with nitrogen or salts.
Incorporating Slow-Release Amendments
To support the first 2–3 weeks of growth, add small quantities of slow-release organic fertilizers:
- Worm castings (5–10% by volume): Gentle source of nitrogen, phosphorus, and potassium.
- Kelp meal (1–2 tbsp per gallon): Supplies micronutrients and growth-promoting hormones.
- Bone meal or rock phosphate (1 tbsp per gallon): Offers phosphorus for root development.
Mix these amendments thoroughly into the top 4 inches of soil, where seedlings will forage for nutrients.
Balancing pH for Maximum Nutrient Uptake
pH influences nutrient availability in soil. Cannabis prefers a slightly acidic environment—ideally between 6.0 and 6.5 in soil-based grows. Outside this range, key nutrients (iron, phosphorus) may become insoluble, leading to deficiency symptoms even in nutrient-rich soil.
Testing and Adjusting pH
- Use a digital pH meter or soil pH test kit to measure your prepared mix.
- Raise pH (above 6.5) by adding finely ground agricultural lime at 1–2 tbsp per square foot, mixing well.
- Lower pH (below 6.0) with elemental sulfur or peat moss—about 1 tsp of sulfur per gallon, thoroughly incorporated.
Re-test after 24–48 hours, as pH adjustments take time to stabilize. Proper pH ensures seedlings can access the nutrients you’ve added.
Ensuring Proper Moisture and Aeration
Cannabis seeds need consistent moisture to trigger germination, but sitting in waterlogged soil invites damping-off fungus and rotting. Likewise, compacted soil stifles oxygen flow to roots.
Pre-Wetting and Settling Soil
- Moisten your mix to about 60% water-holding capacity before planting. The soil should feel like a damp sponge—no free-dripping water, but not completely dry either.
- Let the mix settle overnight in your trays or pots. This pre-wetting ensures even distribution and prevents air pockets that can desiccate seed radicles.
Promoting Airflow in Seedling Containers
- Use containers with drainage holes sized appropriately for your grow trays or pots.
- Lightly firm the top layer after planting seeds, but avoid compressing deeply. A gentle tamp prevents seeds from being too exposed while preserving root-zone aeration.
Sanitizing Soil to Prevent Pathogens
Damping-off—caused by fungal pathogens like Pythium and Fusarium—can decimate seedlings overnight. Sterilizing soil before planting reduces this risk.
Pasteurization Methods
- Oven pasteurization: Spread moist soil on a baking tray and heat at 180–200°F (82–93°C) for 30 minutes. Use a thermometer to avoid exceeding 200°F, which can kill beneficial microbes.
- Solarization: On a hot day, place moistened soil in clear plastic bags, seal, and leave in direct sun for 4–6 weeks. Solar heat kills many pathogens and weed seeds.
After pasteurization, allow soil to cool naturally before mixing in amendments and planting seeds.
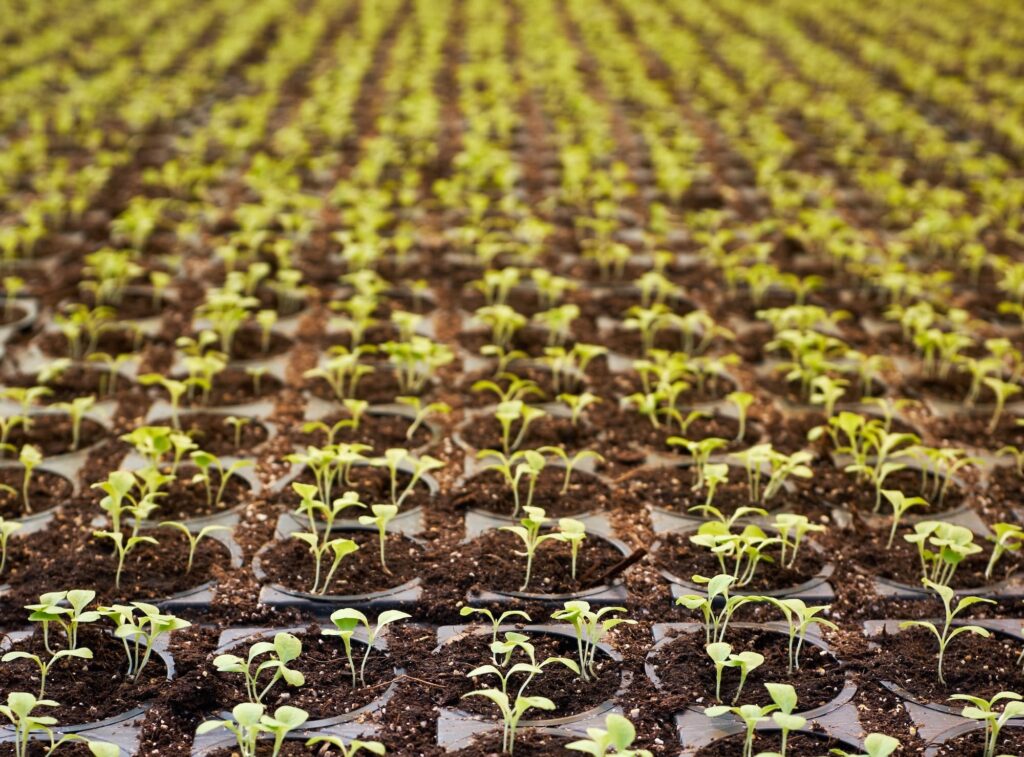
Creating an Ideal Seedbed
With soil structure, nutrients, pH, and sanitation in place, set up a seedbed that keeps conditions warm, moist, and stable.
Choosing the Right Containers and Placement
- Seedling trays with dome lids or speed shelters maintain high humidity without over-saturation.
- Heat mats set to 21–24°C (70–75°F) speed germination. Place trays on mats, but monitor moisture closely—warmer soil dries faster.
- Bright, indirect light prevents seedlings from stretching. Position under LED or fluorescent grow lights at 24–30 inches above trays, running 18–24 hours daily.
Monitoring and Maintenance
- Check moisture daily: Mist with a spray bottle or bottom-water trays to keep soil damp but not soggy.
- Ventilate gently once seedlings emerge—to strengthen stems and reduce fungal growth.
- Remove plastic domes gradually after cotyledons open fully, allowing seedlings to acclimate to ambient humidity.
Read Also : The Science Behind Cannabis Seed Breeding and Hybridization
Conclusion
Meticulous soil preparation before planting cannabis seeds pays dividends in germination rates and seedling vigor. By crafting a loamy, well-draining mix enriched with gentle organic amendments, balancing pH, ensuring proper moisture and air flow, and sanitizing to prevent pathogens, you’ll create the ideal conditions for roots to take hold. With the right seedbed setup—in the correct containers, temperature, and lighting—you set your plants on the fast track to healthy growth. Follow these principles on your next grow, and watch your germination rates climb for a strong, productive cannabis crop.